Want your website to show up in Google search results? One of the first things you should do is connect your website to Google Search Console.
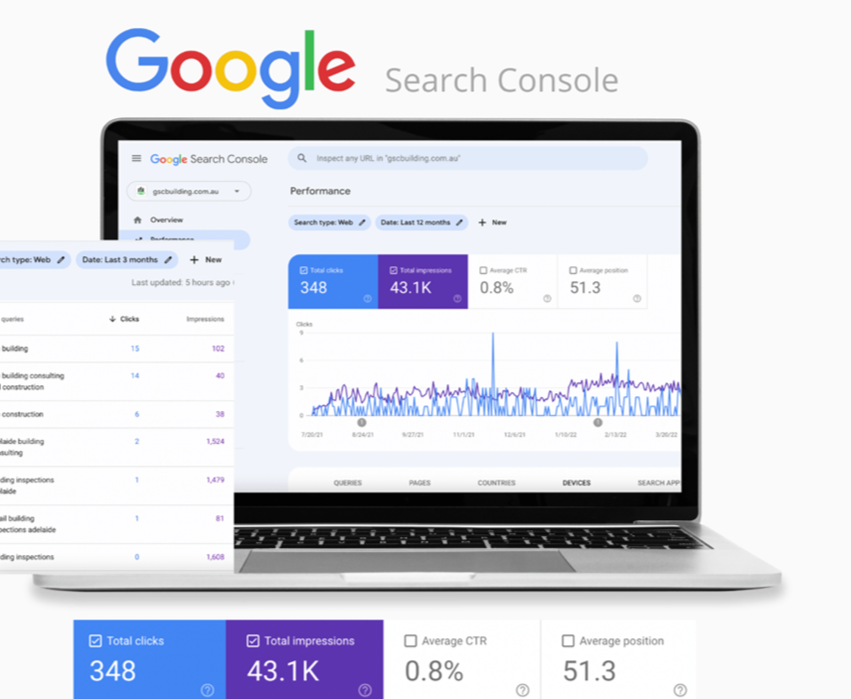
Google Search Console is a free tool from Google that helps Google discover your website, understand its content and monitor how it performs in search results.
Think of it as introducing your website to Google and asking its bots to have a look around, rather than waiting for Google to stumble across it!
In this guide, we'll walk you through how to set up Google Search Console, verify that you own your website, submit your sitemap and ask Google to index your important pages.
It's easier than it sounds, and you only need to do the initial setup once.
What you'll need:
A Google account (a free Gmail account is fine).
Your website's live URL (i.e. your domain, that you give to people to find your site).
Access to your domain settings, in case Google asks you to verify ownership using a DNS record.
Watch the video tutorial
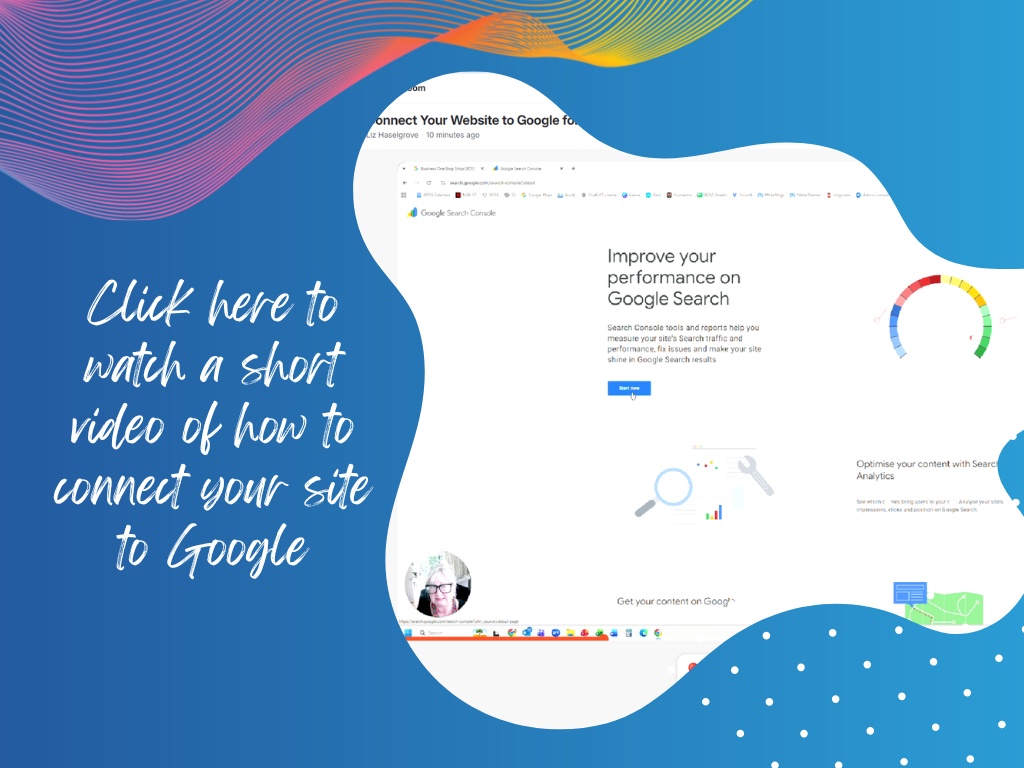
Prefer to watch someone walk you through it? Follow along with our step-by-step video tutorial:
Step 1: Open Google Search Console
First, open Google Chrome and make sure you're logged into your Google account.
Go to Google Search Console and click Start Now.
If you're already logged into Google, this should make the setup process a little easier.
Google Search Console is completely free to use.
Step 2: Add your website to Google
Google will ask you to Add a Property, which is simply Google's name for the website you want to connect.
You'll see two options:
Domain: Covers all versions of your domain, including www and non-www addresses and different subdomains.
URL prefix: Covers only the specific website address you enter.
For most website owners, we recommend choosing Domain.
Enter your domain name without the www or https://.
For example:
yourbusiness.com.auClick Continue.
Step 3: Verify that you own your website
Google needs to check that you actually own or manage the website you're adding.
If you've chosen the Domain option, Google will usually ask you to verify ownership by adding a TXT record to your domain's DNS settings.
Don't let the technical language put you off!
Here's what you need to do:
Google will provide you with a TXT verification record (a bunch of numbers and letters).
Log in to the company where your domain name is registered or managed (e.g. VentraIP, GoDaddy).
Find your DNS settings.
Add a New Record - choose record type TXT.
Copy the verification info provided by Google earlier into the relevant fields.
Save your changes.
Return to Google Search Console and click Verify. This might take a few hours, so don’t panic if it says ‘not able to Verify’, just come back later. On rare occasions, it might take overnight.
The exact steps for adding a TXT record will depend on your domain provider.
Need a hand? If this part gets a little technical, don't panic. It's usually a quick job for someone who knows their way around domain settings. Get in touch with BOSS if you need a hand.
Once Google has verified your website, you'll be taken to your Google Search Console dashboard.
Tip: Bookmark your Google Search Console dashboard so you can easily find it again.
Step 4: Ask Google to index your website pages
Now that your website is connected to Google, we want to ask it to send its bots to index all the content on your website, page by page.
This is where the URL Inspection tool comes in (at the very top of the page).
Indexing is the process of Google reading and storing information about your website pages so they can potentially appear in Google search results.
Here's how to request indexing:
Open your live website in a separate browser tab.
Then do this page by page, starting with your Home page.
Copy the full URL from the address bar.
Return to Google Search Console.
Paste the URL into the inspection bar at the top of the page.
Press Enter.
Wait for Google to check the page.
Click Request Indexing.
That's it! You've asked Google to crawl that particular page.
Important: Don't forget to press Enter after pasting your URL. This is an easy step to miss!
Repeat this process for each important page on your website.
For example:
Your homepage.
Your About page.
Your Services or Products pages.
Your Contact page.
Each individual blog article.
Each of your Event pages.
Any other pages you want potential customers to find through Google.
You don't need to bother with things like your Privacy Policy or Cancellation Policy unless there's a particular reason you want those pages appearing in search results.
A little SEO reminder: Requesting indexing doesn't guarantee that Google will include a page in its search results, or that it will rank highly. It simply asks Google to take another look.
Step 5: Submit your website sitemap
Next, we're going to submit your sitemap.
A sitemap is a file that lists the important pages on your website. It helps Google understand your website's structure and discover your content.
If you're using Squarespace, the good news is that your sitemap is automatically generated for you.
You don't need to create one yourself!
For most Squarespace websites, your sitemap address will look like this:
https://yourbusiness.com.au/sitemap.xml
Here's how to submit it:
Open Google Search Console.
Look at the menu on the left-hand side.
Click Sitemaps.
In the Add a new sitemap field, enter sitemap.xml.
Click Submit.
Google will now be able to access your sitemap and use it to discover the pages on your website.
You should see your sitemap listed in the submitted sitemaps section.
If you receive an error, double-check that you've entered the correct sitemap address and that your website is live and accessible.
Step 6: Keep Google updated when you add new content
Congratulations! Your website is now connected to Google Search Console.
The initial setup only needs to be done once.
However, it's worth returning to Google Search Console whenever you make significant changes to your website or publish new content.
For example:
You've added a new blog article.
You've created a new service or product page.
You've published a new event.
You've made significant updates to an existing page.
Simply copy the URL of the new or updated page, paste it into the inspection bar and click Request Indexing again.
You don't need to keep submitting your entire website. Your sitemap helps Google discover your pages, and you can use individual indexing requests when you have something new or important to share.
What happens next?
Google will crawl your website and consider its pages for inclusion in its search index.
This doesn't happen instantly. It can take anywhere from a few days to a few weeks, and requesting indexing doesn't guarantee that a page will appear in search results.
Once Google has started collecting information about your website, you can use Search Console to monitor:
Which search terms people are using to find your business.
How many times your website appears in Google search results.
How many people click through to your website.
Which pages are getting the most visibility.
Whether Google is experiencing any indexing issues.
It's a really useful free tool for understanding how your website is performing in Google.
Need a hand with your website SEO?
Getting your website connected to Google is an important first step, but there's plenty more you can do to improve your visibility in search results.
At Business One Stop Shop (BOSS), we help small business owners make sense of their websites, SEO and digital marketing.
If you'd like a hand getting set up or want to learn how to make your website work harder for your business, get in touch with BOSS.